Introduction to the Curtain Crop Haircut
The curtain crop is a unique combination of two iconic styles—the curtain fringe and the cropped cut. Characterized by a central or slightly off-center parting, this haircut features longer fringe sections that frame the face while the sides and back are cut shorter for contrast.
The curtain crop haircut offers a stylish and adaptable aesthetic that suits many clients looking for a fresh and modern style. What makes the curtain crop stand out is its versatility; it can be tailored to complement different facial structures and hair textures, making it an increasingly popular request in modern barbershops.

Historical Evolution of the Curtain Crop
The curtain crop’s roots trace back to the classic curtained hairstyles of the Edwardian era when men sported longer, parted hair for a refined look. This style later gained cultural prominence in the 1990s, largely due to its adoption by celebrities such as Leonardo DiCaprio and Johnny Depp.
During this period, the curtain hairstyle was a symbol of casual coolness and youthful rebellion. In recent years, the haircut has evolved to include modern elements such as shorter, textured sides and a more defined curtain fringe. This contemporary twist has made the curtain crop more accessible and easier to maintain while preserving the original’s laid-back charm.
Anatomy of the Curtain Crop
Understanding the structure of the curtain crop is essential for execution:
- Fringe (Curtains): The defining feature, with length varying from brow-grazing to cheekbone level, parted centrally or slightly off-center.
- Top Section: Typically longer than the sides, allowing for movement and styling versatility.
- Sides and Back: Cut shorter, often incorporating tapering or fading techniques to create contrast and enhance the prominence of the fringe.
Step-by-Step Guide to Cutting the Curtain Crop Haircut for Professional Barbers

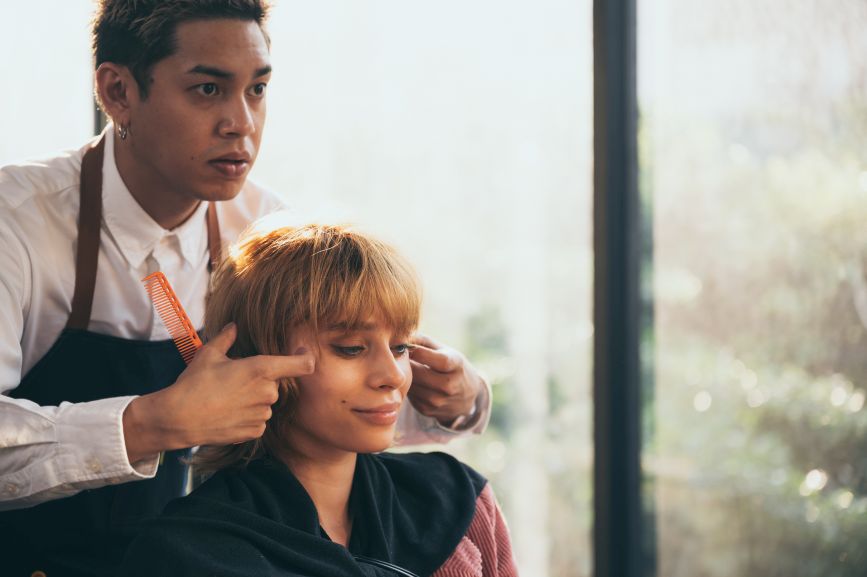
Step 1: Consultation and Hair Assessment
Begin by thoroughly consulting with your client to understand their desired outcome. Discuss their lifestyle, maintenance preferences, and styling habits. Examine their hair type (straight, wavy, or curly) and assess the density and natural fall of the hair. Decide on the length of the fringe and whether the parting will be in the center or slightly off-center.
Consider the client’s face shape—longer fringes for round faces, softer textures for square faces, and balanced lengths for oval shapes. Always show visual references to align with the client’s vision before starting the cut.
Before starting any structured cut like the Curtain Crop, it’s crucial to set the tone with a strong client consultation—discover how effective consultations lay the foundation for client trust and technique in our article: Salon Consultations Are the Key to Happy Clients: 7 Tips for a Successful Beauty Salon Consultation
Step 2: Prepare and Section the Hair
Wash the client’s hair and lightly towel-dry it. The hair should be damp but not dripping wet, as this allows for more precise cutting. Detangle the hair thoroughly with a wide-tooth comb. Create a clean middle or slightly off-center parting based on the client’s preference. Section the hair into four key areas:
- Top section – from the crown to the front hairline.
- Two side sections – from the temples to behind the ears.
- Back section – from the occipital bone to the nape.
Secure each section with clips to maintain control and accuracy during the cut.
Step 3: Establish the Length of the Fringe
Release the front section and comb it forward. Identify the desired length of the fringe—whether it grazes the eyebrows, falls to the cheekbones, or sits somewhere in between. Start cutting from the center of the fringe outward to maintain balance and symmetry.
Use a point-cutting technique to soften the edges, which helps create a more natural, textured finish. Check the length consistently on both sides to ensure evenness. For thicker hair, consider light texturizing to reduce bulk and improve movement.
Step 4: Cut the Top Section
After establishing the fringe, release the top section. Lift the hair vertically and cut to the desired length, using the fringe as your guide. This section should be slightly longer than the sides to allow the curtain effect to fall naturally.
Implement a layering technique to add movement and prevent the hair from feeling too heavy. For finer hair, use soft layers to maintain volume, while thicker hair benefits from deeper layers to reduce density. Slide cutting can be useful here to create a feathered, flowing effect.
Step 5: Taper the Sides and Back
Move to the side sections and determine how much contrast the client prefers. For a softer curtain crop, use scissors-over-comb to blend the sides into the top smoothly. For a sharper look, apply a taper or low fade using clippers. Start with a longer guard (such as #3 or #4) and gradually fade down toward the nape.
Maintain a clean, natural transition between the longer top and shorter sides. Pay attention to blending behind the ears to avoid harsh lines and ensure a seamless finish.
Step 6: Blend the Sections Together
Blending is crucial to create a cohesive curtain crop. Cross-check each section horizontally and vertically to ensure there are no weight lines or uneven areas. Use thinning shears or a razor to soften any heavy transitions, particularly around the fringe and crown.
Be mindful not to over-texturize, as this can make the fringe too wispy. The goal is to maintain a balanced flow between the fringe, top, and shorter sides.
Step 7: Detail and Personalize the Fringe
Refine the fringe by checking its length and shape when the hair is dry. Dry cutting reveals how the hair naturally falls and allows for more precision. Customize the fringe based on the client’s features—longer for a relaxed, bohemian style or shorter for a bolder, edgy appearance.
Use a razor or point-cutting to enhance softness and movement. Ensure the parting remains visible and defined, enhancing the curtain effect.
Step 8: Styling the Curtain Crop
Blow-dry the hair using a round brush or vent brush to enhance the curtain shape. Focus on lifting the roots for volume while allowing the fringe to curve gently away from the face. For a more relaxed texture, finger-drying with a diffuser works well.
Apply lightweight styling products suited to the client’s desired finish. Use mousse or a styling cream for a natural, soft hold or pomade for a more polished, defined look. Texturizing spray adds volume and movement, enhancing the haircut’s lived-in appeal.
Step 9: Final Inspection and Finishing Touches
Once styled, conduct a final inspection to check the overall balance and shape. Ensure the fringe sits evenly on both sides and that the taper or fade blends seamlessly. Make any necessary adjustments to refine the silhouette.
Discuss aftercare with your client, providing maintenance tips and recommending suitable styling products. Educate them on how to recreate the curtain crop’s shape at home for a consistent, stylish appearance.
Common Mistakes and How to Avoid Them

Even experienced barbers can encounter challenges when executing a curtain crop. One common mistake is cutting the fringe too short, which disrupts the haircut’s signature framing effect. To avoid this, it is advisable to cut the fringe longer initially and adjust incrementally.
Another pitfall is neglecting the blend between the fringe and the sides, resulting in an uneven, disjointed appearance. Consistent cross-checking throughout the haircut helps ensure a seamless transition.
Over-layering can also be problematic, particularly for clients with fine hair, as excessive layers may reduce volume and cause the fringe to appear thin.
Several adaptations of the curtain crop
1. Classic Curtain Top
The classic curtain top features a clean, symmetrical middle part with a longer fringe that frames the face. This style usually has medium-length hair on top, with the sides kept slightly shorter but not too faded. It’s a timeless look inspired by the 90s, made popular by icons like Leonardo DiCaprio.
2. Textured Curtain Top
The textured curtain top adds movement and volume through layering and point-cutting techniques. This variation works well for clients with thick or wavy hair as the added texture softens the curtain fringe. It gives a more casual, tousled appearance that requires minimal styling effort.
3. Undercut Curtain Top
For a bold, modern contrast, the undercut curtain top features a disconnected undercut or shaved sides with a longer curtain fringe. This edgy version emphasizes the curtain bangs while maintaining a clean, sharp look on the sides and back.
4. Taper Fade Curtain Top
This version blends the classic curtain top with a gradual taper fade on the sides and back. The fade adds a polished, modern edge while allowing the curtain fringe to remain the focal point. It’s a versatile option that suits a wide range of clients.
5. Curly Curtain Top
Ideal for clients with natural curls or waves, the curly curtain top celebrates texture while maintaining the signature parted fringe. This style typically requires light layering to reduce bulk while enhancing curl definition. Moisturizing and curl-enhancing products help maintain the shape.
For a bold, modern contrast, the undercut curtain top features a disconnected undercut—learn how to master this look in our detailed Disconnected Undercut Tutorial guide.
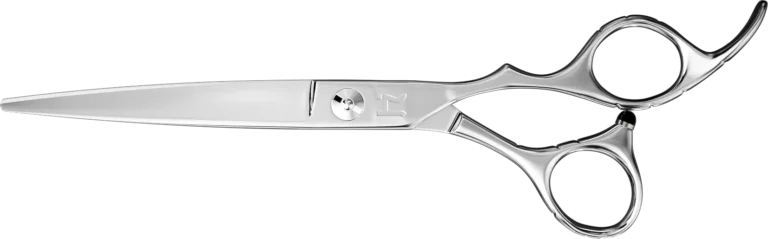
Best Shears To Use When Creating A Curtain Cop Haircut
Achieving the perfect curtain top haircut requires precision and the right tools. Hattori Hanzo Shears offers a range of professional-grade shears designed to meet the specific needs of stylists.
Here are some top recommendations
1. HH6 Kime Shear

The HH6 Kime Shear is renowned for its versatility, making it ideal for both wet and dry cutting. Its ergonomic design ensures comfort during extended use, allowing for precise control necessary for crafting curtain top hairstyles.
2. HH8 Talon Shear

Designed with a crane handle, the HH8 Talon Shear offers enhanced ergonomics, reducing strain during cutting sessions. Its sharp blades provide clean cuts, essential for achieving the defined lines characteristic of curtain top haircuts.
3. HH13T Texturizer

For adding texture and blending layers seamlessly, the HH13T Texturizer is an excellent choice. It allows stylists to create movement within the hair, enhancing the natural flow of curtain styles.
Frequently Asked Questions
1: What is the main difference between a curtain crop and a traditional crop haircut?
The curtain crop features a distinct parted fringe that frames the face, while a traditional crop is typically shorter all around with no prominent fringe.
2: How often should clients maintain a curtain crop?
Clients should schedule trims every four to six weeks to keep the fringe length in check and maintain the haircut’s shape.
3: Is the curtain crop suitable for all hair types?
Yes, the curtain crop can be adapted for straight, wavy, and curly hair, though the cutting technique must be tailored to each texture.
4: Can the curtain crop be styled without professional products?
While it is possible, professional styling products enhance definition and hold, ensuring the haircut maintains its shape throughout the day.
5: Is the curtain crop suitable for older clients?
Yes, the curtain crop’s versatility makes it suitable for clients of all ages, with adjustments in length and texture to complement mature hair.
For best haircutting results, use Hanzo Shears.