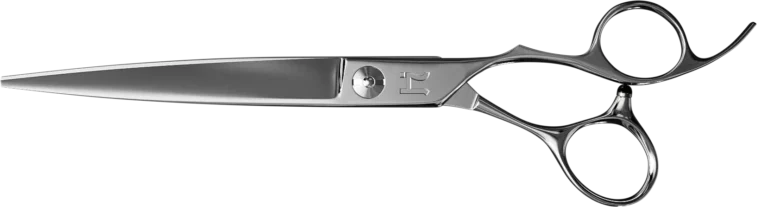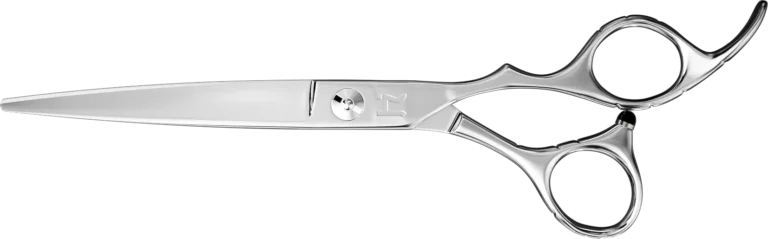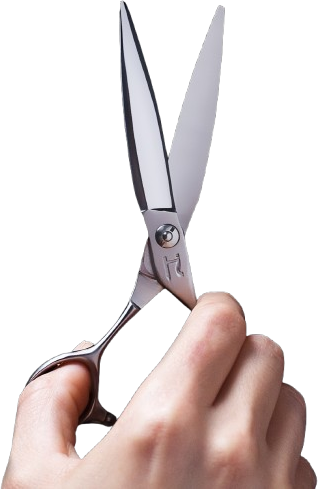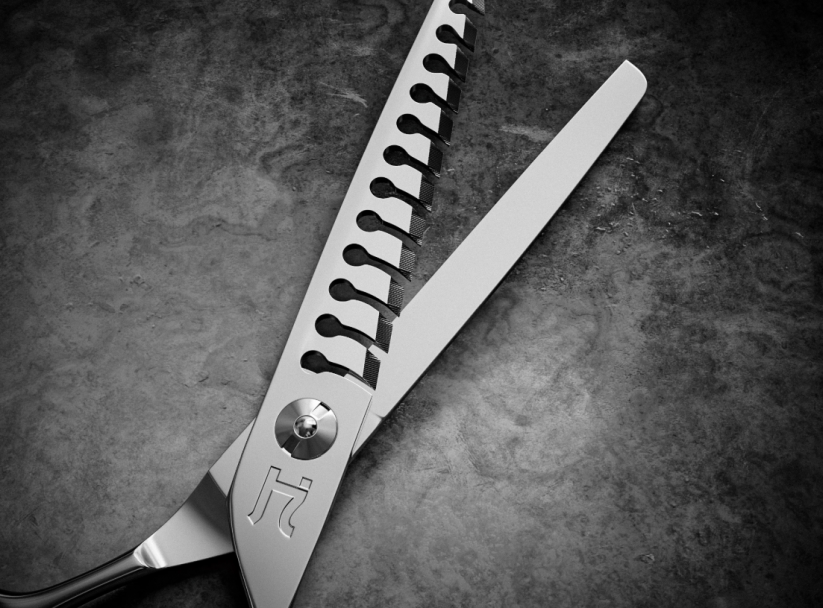
For stylists and barbers who depend on haircutting shears through a full day of cutting, small maintenance mistakes can quickly become performance problems. Hair fragments, styling products, moisture, and friction collect around the blades and pivot every time you work. Hanzo helps working professionals protect their tools with precision sharpening, maintenance support, and Japanese-steel shears designed for demanding salon and barbershop use.
A good maintenance routine does not require complicated equipment. Cleaning, drying, oiling, checking the tension, and storing your shears correctly can all be completed in a few minutes.
Here is the basic routine:
- Remove hair and visible product after use.
- Clean and disinfect according to your state’s rules.
- Dry the entire shear thoroughly.
- Lubricate the pivot sparingly.
- Check the blade movement and tension.
- Store the shear closed in a protective case.
- Arrange professional service when performance changes.
Why Maintenance Matters More Than Most Stylists Realize
Haircutting shears work through repeated metal-on-metal movement. At the same time, the blades are exposed to moisture, fine hair fragments, natural oils, dry shampoo, texture sprays, pomades, and other styling products.
When that residue remains on the tool, it can collect around the pivot, interfere with smooth movement, and make the blades feel less consistent. Moisture left on the metal may also contribute to staining or surface corrosion.
Regular care protects the edge, pivot, tension system, and overall cutting feel of your professional shears. It also helps you recognize a genuine sharpening or alignment issue before you start compensating with more hand pressure.
Maintenance cannot prevent normal edge wear forever, but it can stop dirt, poor storage, incorrect tension, and avoidable damage from shortening the useful life of your tools.
After Every Use: Daily Cleaning
Cleaning removes hair, product, and visible debris. Disinfection reduces microorganisms after the tool has been properly cleaned.
These are related but separate steps.
Salon sanitation rules vary by state. Always follow your state cosmetology or barbering board’s current requirements and the directions on the disinfectant label. Never assume that wiping away visible hair is enough to meet professional sanitation requirements.
Step 1: Remove Visible Hair and Product
After each client, remove visible debris as required by your local regulations. At the end of the working day, give the shear a more complete wipe-down.
Use a clean, soft, lint-free cloth to wipe both sides of each blade. Move carefully from the pivot toward the tip without running your fingers directly along the cutting edge.
Look for residue from:
- Hair spray
- Dry shampoo
- Cutting lotion
- Pomade
- Wax
- Texture spray
- Color products
- Conditioning treatments
A blade can appear clean at first glance while still carrying a thin layer of product.
Step 2: Inspect the Pivot Area
Open the shear and examine the area around the tension screw, washer, bumper, and inner blade surfaces.
Fine hair often collects around the pivot. When it mixes with product residue and oil, it can form a sticky buildup that affects how smoothly the blades move.
Use the corner of a lint-free cloth or a soft brush to loosen accessible debris. Do not push pins, metal tools, or other sharp objects into the pivot.
Routine cleaning should not require you to dismantle the shear.
Step 3: Follow the Required Cleaning and Disinfection Process
Your maintenance routine must work alongside your state’s sanitation rules.
For example, California requires shears to be:
- Cleared of visible debris.
- Cleaned with soap or detergent and water.
- Dried completely.
- Sprayed or wiped with an EPA-registered disinfectant used according to its label.
Requirements may differ elsewhere, so check the rules that apply where you work.
When using a disinfectant:
- Confirm that the label permits use on the tool’s material.
- Follow the required dilution instructions.
- Observe the stated contact time.
- Keep the surface wet for the required period.
- Complete any rinsing or drying steps listed on the label.
- Avoid mixing disinfectants or cleaning chemicals.
A disinfectant only works as registered when it is used according to its EPA-approved label.
Step 4: Address Stubborn Styling-Product Residue
If permitted by the shear manufacturer, a small amount of isopropyl alcohol on a cloth can help dissolve stubborn styling-product residue.
Apply it to the cloth rather than spraying the shear directly. Wipe the affected area carefully and dry it immediately.
Do not treat alcohol as a replacement for a required salon disinfectant. Cleaning residue and completing a legally compliant disinfection process are not necessarily the same thing.
Step 5: Dry the Shear Completely
Moisture should not remain on the blades, handles, pivot, finger rest, or bumper before the tool is stored.
Use a clean, dry cloth and pay close attention to the joint. Open and close the blades slowly after drying, then check whether any moisture has emerged from around the pivot.
A shear should be completely dry before oiling and storage.
What Should You Avoid When Cleaning Shears?
Avoid these common cleaning mistakes:
- Leaving product on the blades overnight: Residue becomes more difficult to remove and can collect at the pivot.
- Spraying excess liquid directly into the joint: This can leave moisture trapped around the pivot.
- Using fragranced or lotion-based wipes: These may deposit another layer of residue.
- Using harsh household chemicals: Bleach and other aggressive cleaners may damage finishes, washers, or other components.
- Ignoring label instructions: More disinfectant or a longer soak is not automatically safer.
- Storing a damp shear: Always dry it first.
- Using sanitation methods that conflict with state rules: Follow the requirements for your license and location.
Do not rely on improvised online cleaning methods when state regulations or product labels provide specific instructions.
Oiling: How Often and Where
The pivot is the main friction point of a haircutting shear. Lubrication helps the blades open and close smoothly and reduces unnecessary friction within the joint.
The key is to use a small amount of the correct lubricant.
How to Oil Hair Shears Correctly
Step 1: Clean and Dry the Tool
Never oil over visible hair, product buildup, disinfectant residue, or moisture. Applying lubricant to a dirty joint can trap contaminants around the pivot.
Step 2: Apply Lubricant at the Pivot
Open the shear slightly and apply a small drop of shear-specific or manufacturer-approved lubricant where the two blades meet near the tension screw.
Do not coat the entire tool in oil.
Step 3: Distribute the Oil
Open and close the blades slowly several times. This works the lubricant into the pivot and may help move fine debris away from the joint.
The movement should begin to feel smooth and controlled.
Step 4: Wipe Away Excess
Use a clean lint-free cloth to remove lubricant from the outside of the pivot and blade surfaces.
The shear should feel lubricated at the joint, not greasy in your hand or likely to transfer oil onto a client’s hair.
How Often Should You Oil Hair Shears?
Your oiling schedule depends on how frequently the shear is used, the manufacturer’s instructions, and the products present in your working environment.
A practical routine is:
- Heavy daily use: Check and lubricate the pivot at the end of the workday.
- Moderate use: Lubricate every few working days or when the joint begins to feel dry.
- Occasional use: Lubricate after cleaning and before extended storage.
- After thorough cleaning: Reapply lubricant if the cleaning process has removed it.
Use the movement of the shear as a guide. A dry, noisy, or rough-feeling pivot needs attention, but do not try to solve blade damage or incorrect tension by adding excessive oil.
What Oil Should You Use?
Use a lubricant designed for shears or one specifically approved by the shear manufacturer.
Avoid:
- Cooking oil
- Hair oil
- Motor oil
- Thick grease
- General household lubricants
- Products that become sticky as they age
Do not use WD-40 as the routine lubricant for a precision haircutting tool. It is a multipurpose water-displacing product, not a dedicated shear-care oil.
Should You Oil the Bumper?
No routine bumper oiling is necessary unless the shear manufacturer gives specific instructions to do so.
The bumper is the small rubber or plastic component that prevents the handles from closing too far and helps control blade crossover. If it becomes cracked, loose, compressed, or missing, it should be inspected and replaced rather than covered with lubricant.
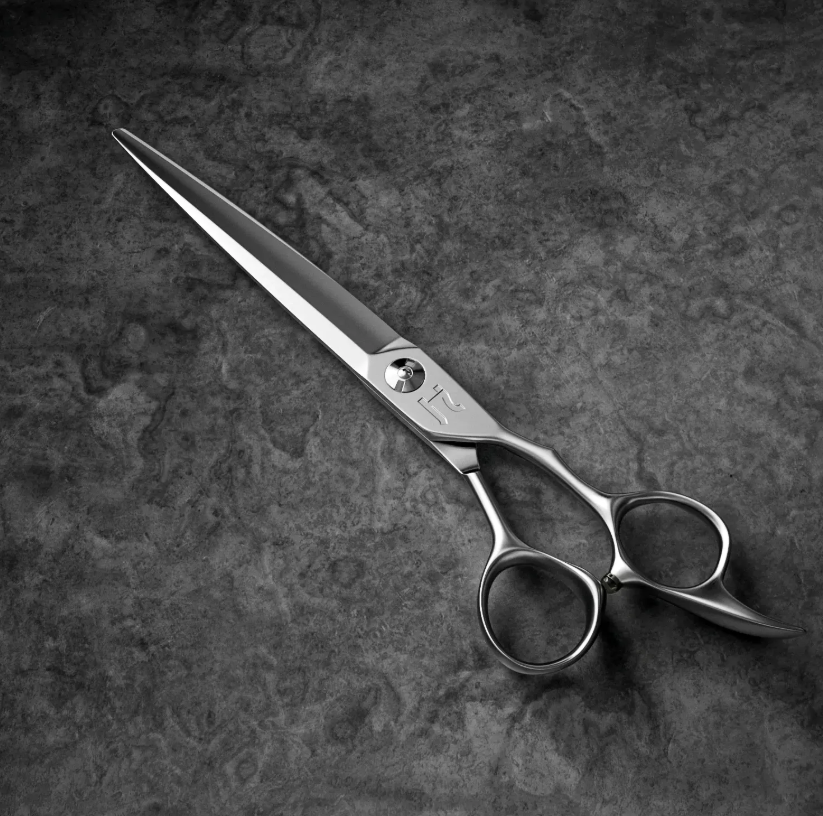
Tension: The Daily Check
Correct tension keeps the blades in controlled contact through the closing motion.
When tension is too loose, the blades can separate and allow hair to bend, push, or fold. When it is too tight, the shear may feel resistant and create unnecessary friction around the pivot.
Before beginning your cutting day:
- Make sure the shear is clean and lubricated.
- Open and close it slowly.
- Listen for scraping, clicking, or grinding.
- Notice whether the blades feel unusually loose or resistant.
- Test the shear on clean hair.
- Make only small adjustments when necessary.
Do not tighten the pivot simply because the shear is no longer cutting well. Cleaning, tension, edge condition, alignment, and cutting technique can all affect performance.
For a complete diagnosis and adjustment process, read the guide how to adjust tension on shears
Storage: The Most Overlooked Part of Shear Care
Many shears are damaged when they are not being used.
Dropping a shear into a drawer or kit bag allows the cutting edge to strike clippers, combs, razors, or other metal tools. That contact can nick the edge, damage the tip, or alter how the blades meet.
Use a Dedicated Case
Store each shear in a:
- Padded shear case
- Protective tool roll
- Individual pouch
- Secure compartment designed for haircutting tools
The case should keep the shear from sliding around or striking other equipment.
A case also needs regular cleaning. Do not return a clean shear to a pouch filled with loose hair and product residue.
Store the Shear Closed
Close the blades gently before placing the tool in its case.
Open blades expose more of the cutting edge and make accidental contact damage more likely. Do not snap the blades shut or wrap the handles so tightly that pressure is placed on the joint.
Choose a Clean, Dry Storage Area
Keep shears away from:
- Damp towels
- Shampoo bowls
- Chemical spills
- High humidity
- Uncontrolled heat
- Wet countertops
- Areas where the case may be knocked to the floor
Do not leave your main cutting tools loose on the station between clients.
Prepare the Shear for Longer Storage
Before storing a shear for an extended period:
- Complete the required cleaning and disinfection process.
- Dry the tool thoroughly.
- Apply a small amount of lubricant at the pivot.
- Wipe away excess oil.
- Close the blades gently.
- Place the shear in a clean, dry protective case.
Inspect, clean, and disinfect it as required before placing it back into client service.
What Not to Do: Common Maintenance Mistakes
Do Not Cut Materials Other Than Hair
Keep a separate pair of utility scissors at your station.
Do not use haircutting shears to cut:
- Foil
- Tape
- Paper
- Plastic packaging
- Fabric
- Thread
- Extension bonds
- Wire
- Product labels
Even one cut through the wrong material can nick, roll, or dull a refined cutting edge.
Do Not Drop Your Shears
A drop can damage the tip, edge, handle, tension system, or blade alignment.
After a drop:
- Pick the shear up carefully.
- Inspect the tips and blades under good lighting.
- Open and close it slowly.
- Listen and feel for scraping or catching.
- Stop using it if the cutting action has changed.
Continuing to work with a damaged shear may worsen the problem.
Do Not Let Untrained People Handle Them
Someone unfamiliar with precision haircutting tools may test the blades on paper, adjust the tension incorrectly, place the shear on a wet surface, or close it with unnecessary force.
Treat your cutting tools as professional equipment rather than general salon scissors.
Do Not Attempt Home Sharpening
Household knife sharpeners, pull-through devices, rotary tools, and general sharpening stones are not designed to preserve haircutting-shear geometry.
Improper sharpening can:
- Change the edge angle
- Remove too much steel
- Damage a convex edge
- Alter the blade curve
- Create uneven contact
- Shorten the shear’s service life
Haircutting shears should be serviced by a technician who understands their edge design, ride line, alignment, and pivot system.
Do Not Ignore a Change in Cutting Feel
More thumb pressure is not the correct response to a shear that pushes, folds, catches, or drags.
Stop and check:
- Are the blades clean?
- Is the pivot free of hair?
- Has the joint been lubricated?
- Is the tension appropriate?
- Is there a visible nick or damaged tip?
- Was the shear recently dropped?
- Was it used on foil, tape, or another material?
If basic care does not restore normal performance, arrange professional service.
When to Send Your Shears for Professional Service
Routine cleaning and oiling cannot restore a worn or damaged edge. They also cannot correct every alignment, hardware, or pivot problem.
Send Them for Sharpening When Performance Changes
Sharpening should be based primarily on performance, workload, cutting technique, edge type, and tool condition rather than one universal calendar.
Common warning signs include:
- Hair pushes away from the blade
- Sections fold instead of cutting
- The shear catches at one point
- Tips no longer cut cleanly
- The blades feel rough after cleaning and lubrication
- More pressure is needed to complete a cut
- Cutting performance remains inconsistent after a tension check
Read more about how often haircutting tools should be sharpened and the performance signals that indicate service is due.
Request Pivot or Tension Service When Adjustments Do Not Hold
Professional inspection may be needed when:
- The tension repeatedly loosens
- The screw does not respond normally
- A washer or tension component appears damaged
- The blades scrape despite careful adjustment
- The shear remains unstable at the pivot
- The blades appear misaligned
Avoid repeatedly tightening the screw to compensate for a hardware or alignment problem.
Arrange Full Service After Accidental Damage
Send the shear for inspection after:
- A hard drop
- A cut through foil or another foreign material
- A visibly chipped edge
- A bent or damaged tip
- Persistent scraping
- Sudden misalignment
- A broken or missing bumper
- An unexplained change in performance
The StaySharp program provides expert sharpening for any make or model, subject to the shear’s age, quality, and condition. The Standard membership currently includes four sharpenings per year, while StaySharp Plus includes eight.
Frequently Asked Questions
How do you properly clean hair shears?
Remove visible hair and residue, clean the shear according to your state’s requirements, use an approved disinfectant as directed, and dry the tool completely. Once it is dry, apply a small amount of shear lubricant at the pivot and wipe away any excess.
Are you supposed to oil your shears?
Yes. Lubricating the pivot helps reduce friction and keeps the blades moving smoothly. Apply a small amount after cleaning or whenever the joint begins to feel dry.
Can you use WD-40 on scissors?
WD-40 should not be used as the regular lubricant for haircutting shears. Use a dedicated shear oil or manufacturer-approved lubricant instead.
Can you clean shears with alcohol?
Alcohol may help remove certain styling-product residues when the manufacturer permits it, but it does not automatically replace the cleaning and disinfection process required by your state. Follow local regulations and the product label.
How should shears be stored?
Store them clean, dry, and gently closed inside a padded case, pouch, or protected tool compartment. Keep them away from loose metal tools, damp towels, chemical spills, and areas where they may be dropped.
How do you know when shears need service?
Arrange service when the shear pushes, folds, catches, scrapes, feels unstable, or requires more pressure despite proper cleaning, lubrication, and tension. Drops, damaged tips, and accidental cuts through foil also justify professional inspection.
Protect the Tool You Use Every Day
Well-maintained shears perform better, last longer, and protect your clients’ hair. Browse Hanzo’s full range of professional shears.